Is your pantry getting away from you? Do you need some practical, easy-to-follow tips for pantry organization? Well, you’re in luck! Organizing my pantry is one of my favorite things to do!!
I hate to admit this but…
I’ve been known to organize people’s pantries, unsolicited, while simply visiting their homes!! I know, I have to stop that.
This post contains affiliate links. For more information, see my disclosure.
An organized pantry will not only make your kitchen look great, but it will also keep you from buying things you already have buried away thus saving you money!!
It’s a win-win!
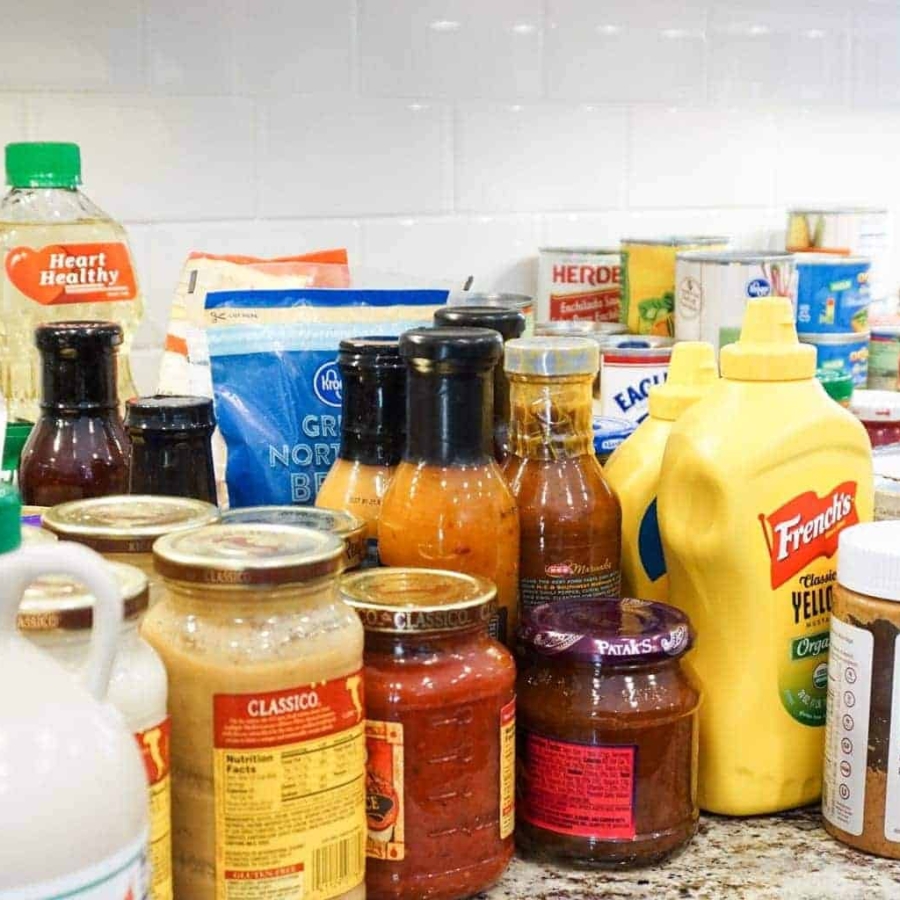
So for the purpose of writing this post, I completely “let go” of my pantry for about a month or so! It was tough for me, but I did not stress out about cleaning it or keeping it organized.
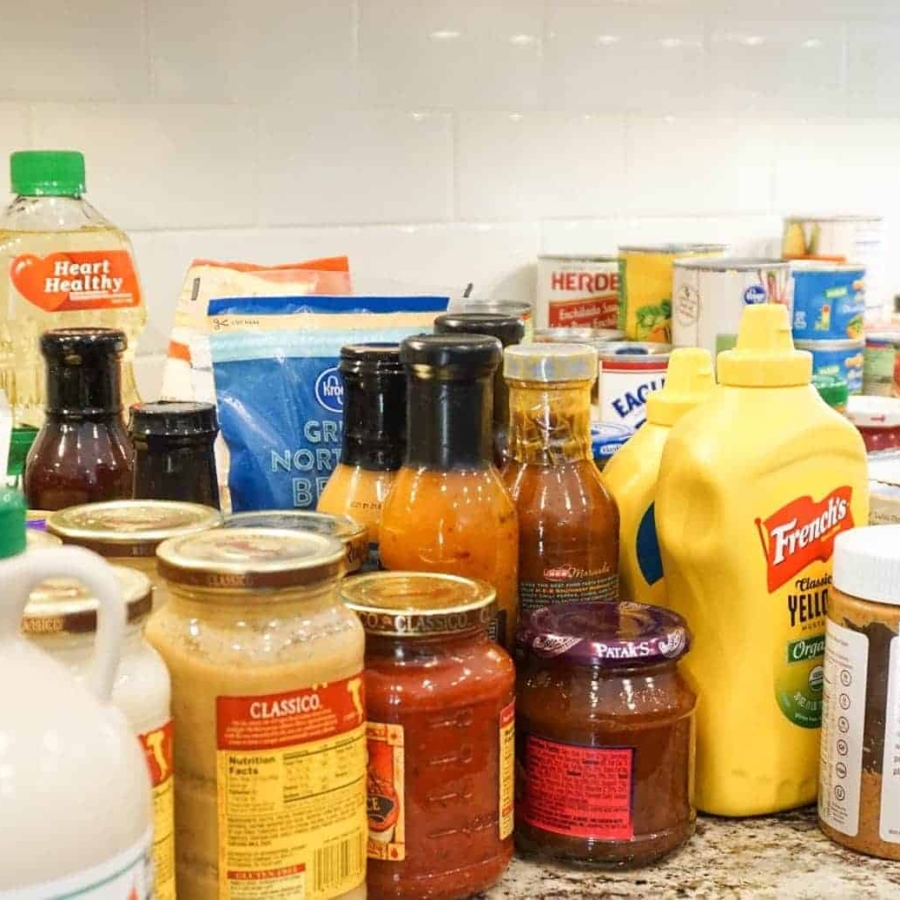
After every supermarket run, I’d just toss everything in there, and I let everyone off the hook for not putting things back where they belong. I did this so I could show you exactly how I would clean out, organize and maintain my pantry. The result of my month of letting go was this.

Needless to say, my pantry was in dire need of a cleanout and organization! I was eager to get started! So let me walk you through my simple steps for a pretty and organized pantry.
But first, before we get started, here are some of the items you will need.
Get Organized!
Here is a list of items you can use to help you get organized.
Featured Items
Here is a list of the products featured in this post or products similar to those featured in this post:
- multi-surface cleaner : This multi-surface spray removes stuck on dirt quickly and easily. I always have it on hand.
- Magic Eraser Cleaning Pads : Got a stuck on dirt and grime? These are the solution. These pads can tackle the most stubborn messes with ease.
- Food Storage Containers : It’s best to have various sizes of storage containers for your bulk goods like flour, sugar, rice, and beans. Some of these items require more storage space than others. I have a variety of these food storage containers in all shapes and sizes.
- cereal dispenser : Cereal boxes are notorious for causing a mess in the pantry. These cereal dispensers are great for saving space and avoiding cereal all over your pantry shelves.
- stackable baskets : An assortment of baskets in different sizes is a must for any organized home. I always have lots of baskets on hand and these stackable wire baskets are especially great at saving space, plus they look great too.
- plastic storage bins : I use a small plastic storage been for keeping snacks in. It’s perfect!
- Expandable Pantry Organizer : If you have lots of cans and jars, these expandable shelf organizers are awesome. They really help keep cans from getting lost in the back of the shelf.
- chalkboard labels : You’ll need plenty of labels for labeling all your containers and baskets. I use decorative chalkboard labels for labeling most of my containers. Not only are they convenient, but they also look great.
12 Of My Favorite Organization Products
These are all My Favorite Organization Products. I know you’ll find something to help you get your home in order.
7 Steps To A Clean & Organized Pantry
Step 1: Empty Your Pantry
Yes, that means take absolutely EVERYTHING out.
Don’t try to work around this step. It will not look as good as you want it to unless you start by emptying it out entirely.

Before you get started, make sure you have a cleared area in your kitchen, or nearby, where you can put everything that’s in the pantry.
Also, I think it’s important to set aside a block of time, 3-4 hours depending on the size of your pantry, to get this started and finished in the same day. You definitely don’t want to get caught with a big mess in your kitchen and no time to clean it up.

So for this first step, just focus on emptying the pantry. No need to worry about throwing stuff out or sorting. Just take it all out.
Step 2: Wipe Down Shelves, Floor, and Any Other Surfaces in Your Pantry
Now it’s time to clean! I use paper towels and a Mrs. Meyer’s Multi Surface spray. It worked perfectly for my pantry since the surfaces weren’t so dirty.

If you do have tough spots on your shelves, I recommend using the Magic Eraser. It has worked great in other projects for me. Just make sure you spot test before using it, to make sure the shelf paint doesn’t come off with the grime!
Step 3: If It’s Expired or You’ll Never Use It, Throw It Out
Now that your pantry is sparkly and like new, it’s time to move to the next step: Throwing things out!
Check every single expiration date. If it’s expired, throw it out. No excuses.

First, go through everything and see if there are things that don’t belong in the pantry, or things you will never use. Don’t justify keeping things you don’t need.
You’ll likely hear an internal voice tell you “Oh but I’ll use that one day when…” Don’t fall for it! If you haven’t used it for a long time, you probably never will. BE STRONG!
We found several of these items in our pantry. One such item: a lovely Halloween bucket full of candy that will never be eaten. The candy went in the trash and the buckets went in the attic, stored with the rest of our Halloween stuff.
A Holiday Candy Jar Will Keep the Sweets Under Control
Here’s a tip for you. With 5 kids, you can imagine the amount of candy that comes in during Halloween.
To get rid of the endless piles of ‘hyper bites’ I have the kids pick their favorite candy and chocolates, and I add a few of my favorites as well 😉 and we put them into this large jar.
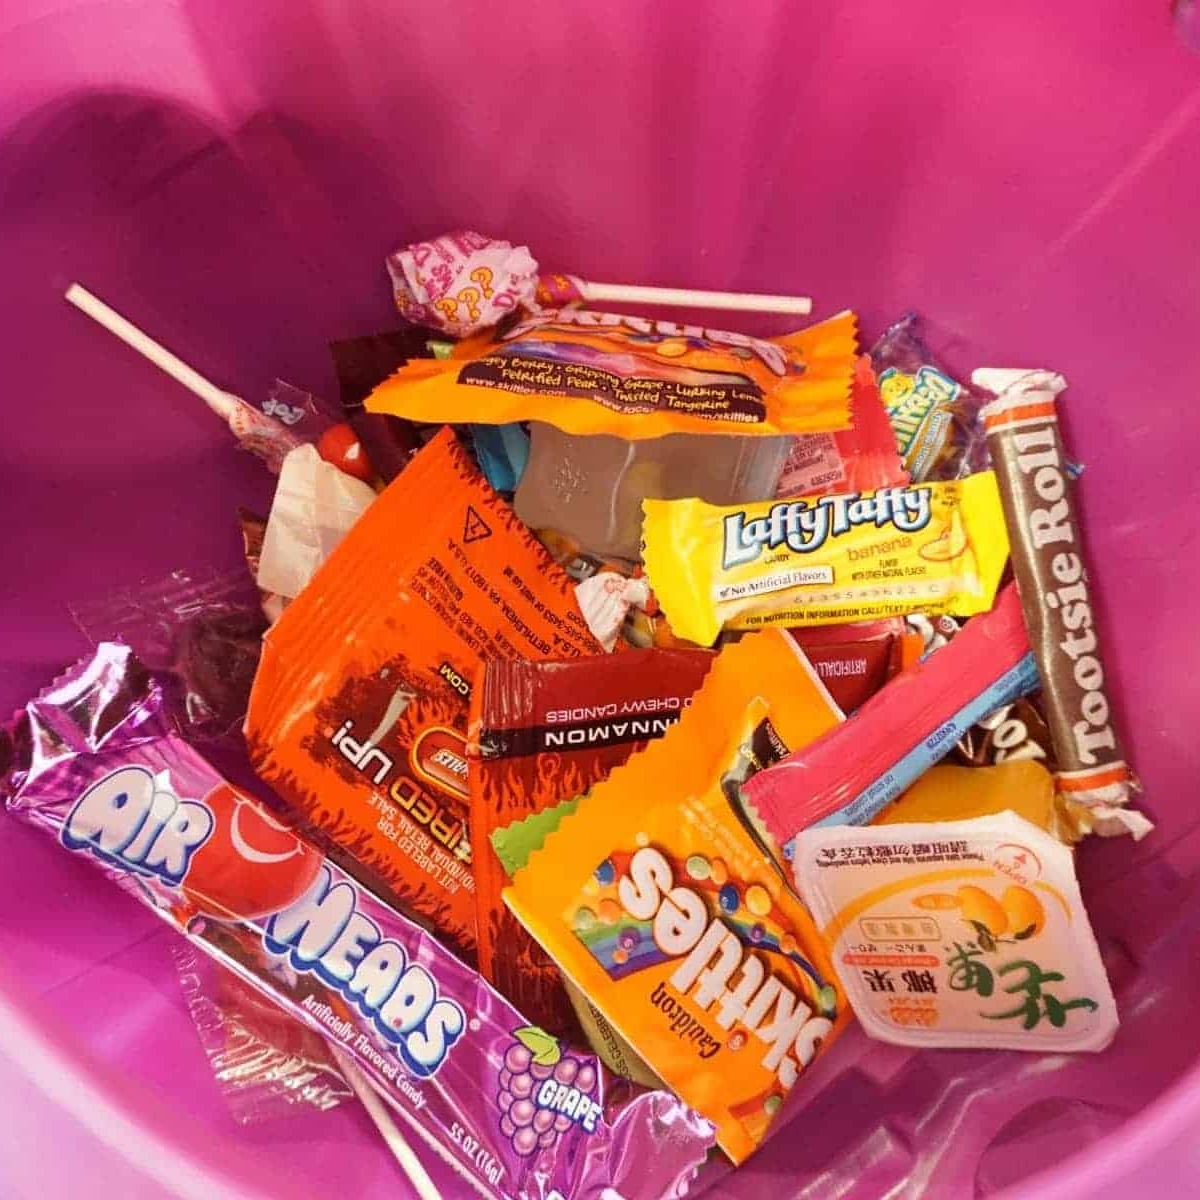
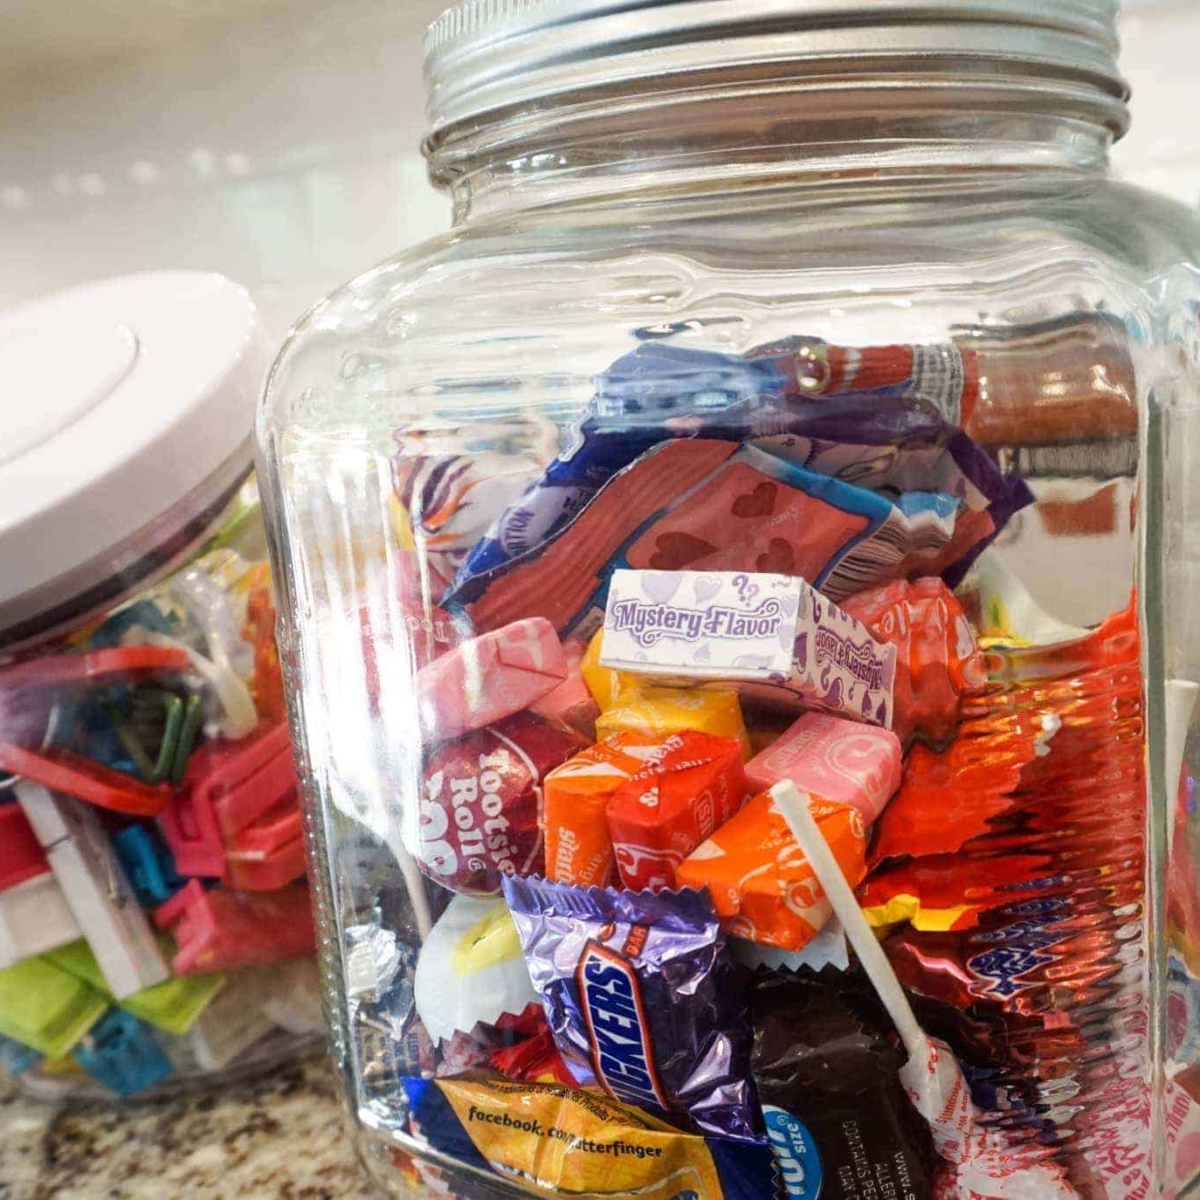
I certainly don’t need 5 children wired on Halloween candy from November to January! So, once the jar is full, it’s time to make the rest disappear. Don’t worry, you don’t have to throw out perfectly good candy. There are many places that will accept candy donations right after Halloween. Make sure to check for local donation or buyback programs. You can also donate to one of the following charities: Operation Shoebox, Operation Gratitude.
Step 4: Separate and Group Items in a Way That Works Best for You
You should now have considerably fewer things. I love this point in the process because if you do it correctly and really get rid of the things you don’t need or that are expired, it makes these next steps so much easier.
For the sorting process, you’re going to have to do what works best for you and your family. Sort things according to how you use them. You may also want to sort some items by who uses them.
Personally, I like to keep my baking items together in a basket, it makes it easier to pull the whole basket out every time I’m baking something.
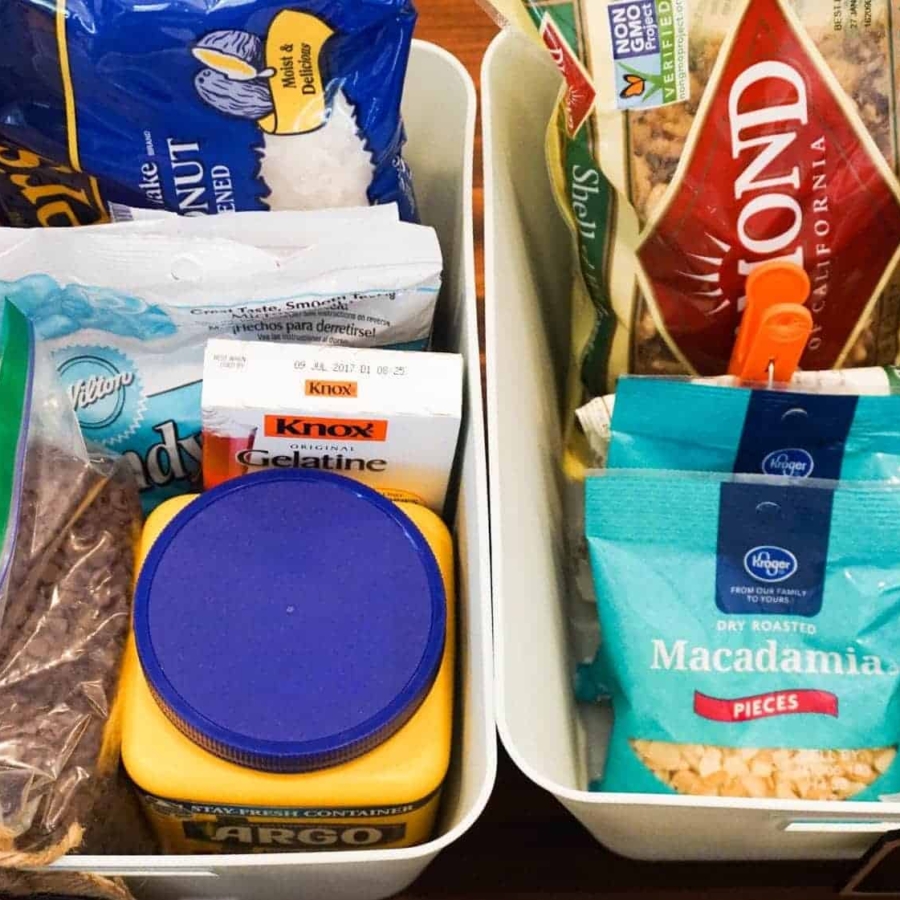
Some of the other items I sorted into groups were nuts, cans, jars, sugars, grains, and pasta. Do what makes sense to you.
Step 5: Choose Your Pantry Organizers
There are so many different types of organizers for your pantry!
The first thing you’ll want to do is use what you already have in your home. Once you see what you have on hand and look throughout your home for baskets and other items that could work for your pantry, you can then go shopping for a few extras if needed.

If you need to go shopping for more storage solutions, The Container Store is my favorite place to start. They have so many wonderful options that will make your pantry more efficient and look great at the same time.

When Ryan and I were in college, we had the very first The Container Store right around the corner. I have so many fond memories of walking with Ryan to the store on weekends. I remember entering the store and being so inspired by all the amazing things. That’s where my obsession with organization products began. Ever since, it has been one of my Happy Places!!
That store in Dallas was small but it was my oasis!! I visited as often as I could! I still love going there every time I get a chance. It can be overwhelming at first if you go in without some focus, but I just love the amazing organization and storage solutions available. Here’s a collection of some great organization tips and ideas from them. Hope you enjoy!
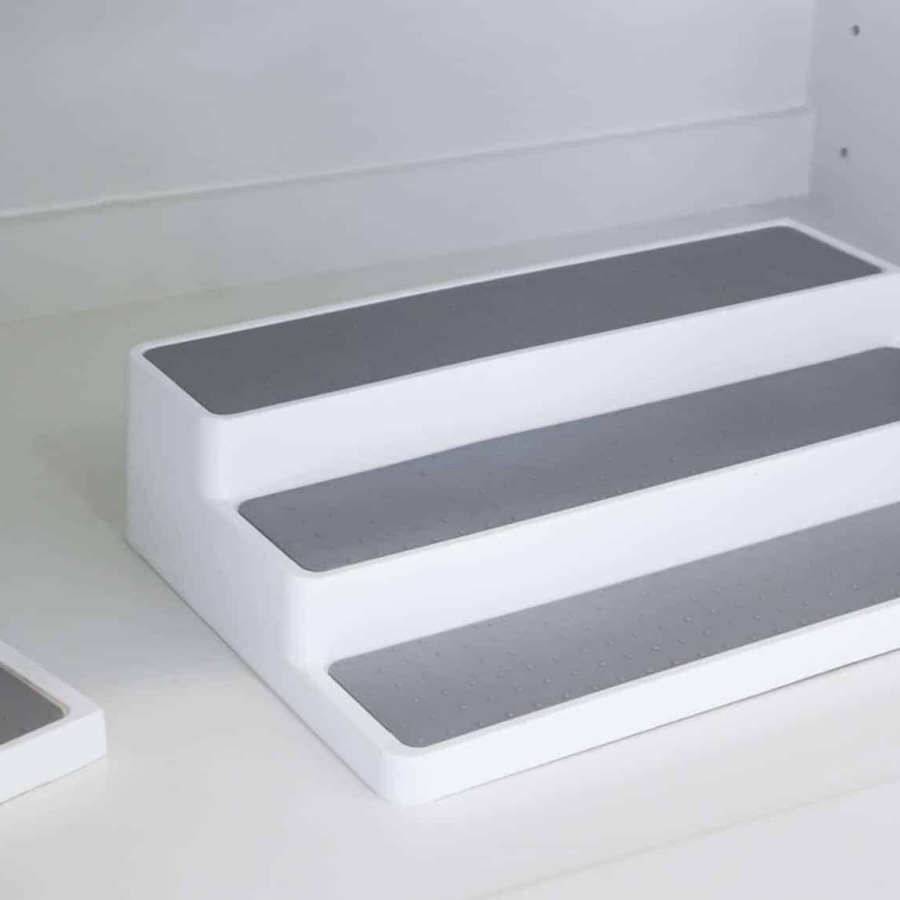
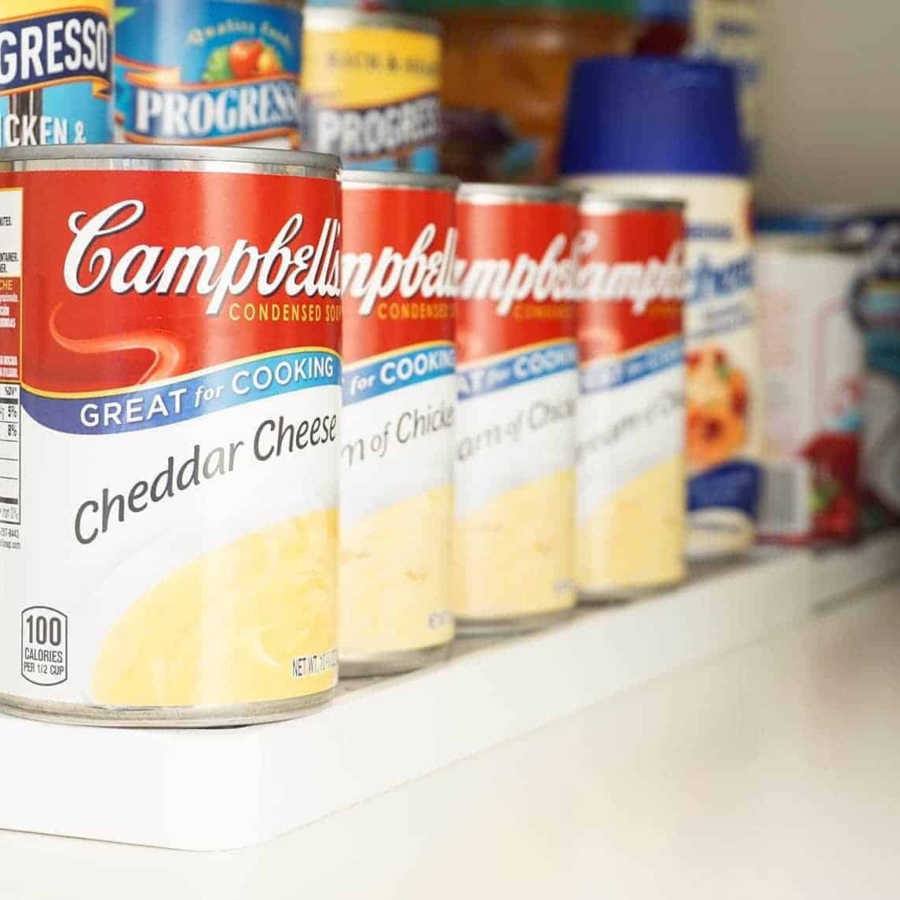
Cans and jars seem to always get lost behind other cans and jars. These expandable shelf organizers make it easy to store these items so that everything will be visible to you.
These stackable pantry baskets are a great space saver and they look so nice! They come in a couple of different finishes. I chose the silver finish because I felt it worked well with my kitchen. The ones I got came in both large and small sizes so, I picked up two of each size.

Baskets and bins are definitely a great option in any pantry. They are a good way to keep like items together and eliminate visual clutter.
If It’s Not in a Storage Container, Put It in Baskets
Baskets are especially useful for storing items that you’re unable to put in a storage container. They’re also a great solution for keeping products that are in odd-shaped packaging, bags, or boxes.
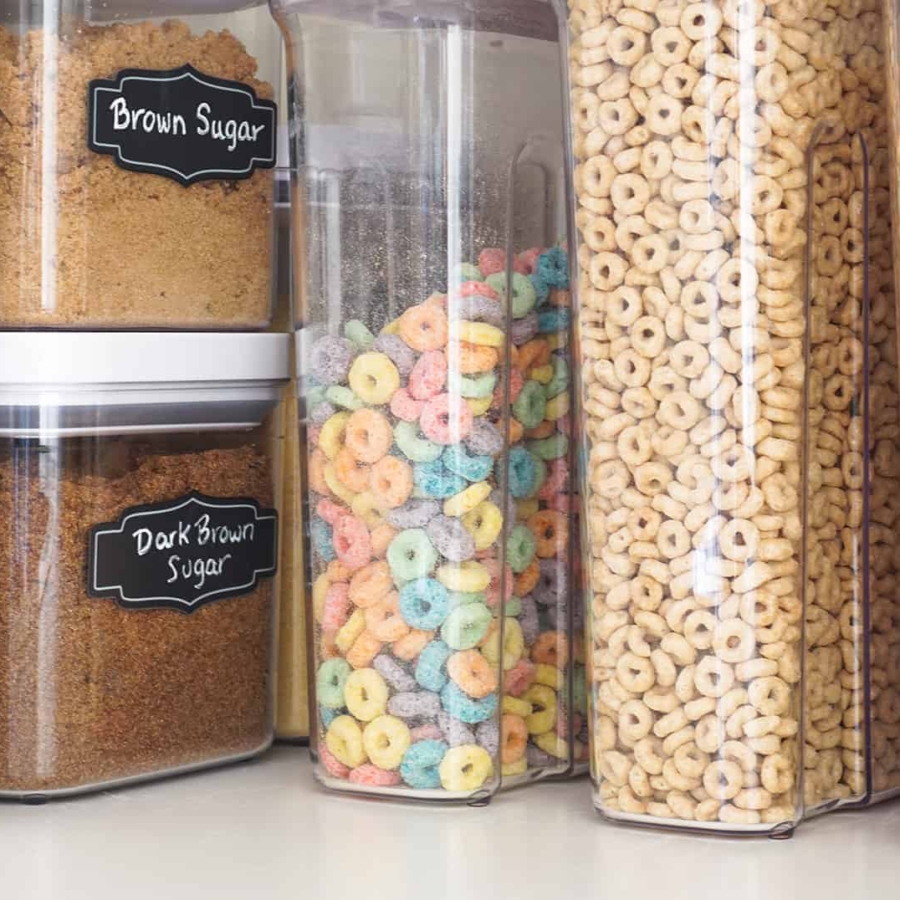
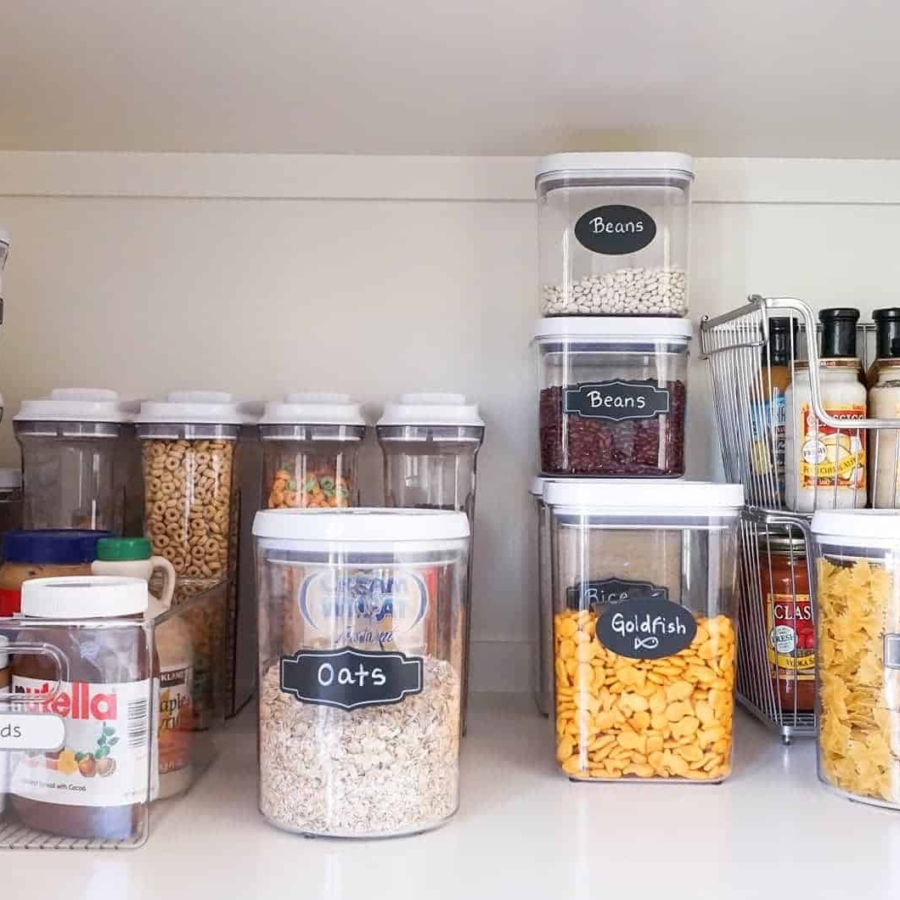
As for storage containers, my favorite are these clear OXO containers.

I used to hate how the flour and sugar always seemed to find their way out of the bags and all over my pantry shelves. That annoyance disappeared once I started storing my bulk items in large containers.
I hate opening a box of cereal and then rolling the bag up to put it back in the box. Undoubtedly the box expands in size making it impossible to close again because the bag has blown up like a pufferfish! These cereal containers eliminate that issue and, as a bonus, there are no more mornings filled with kids complaining of stale cereal or, worse, opening the cereal box only to find an empty bag in it!
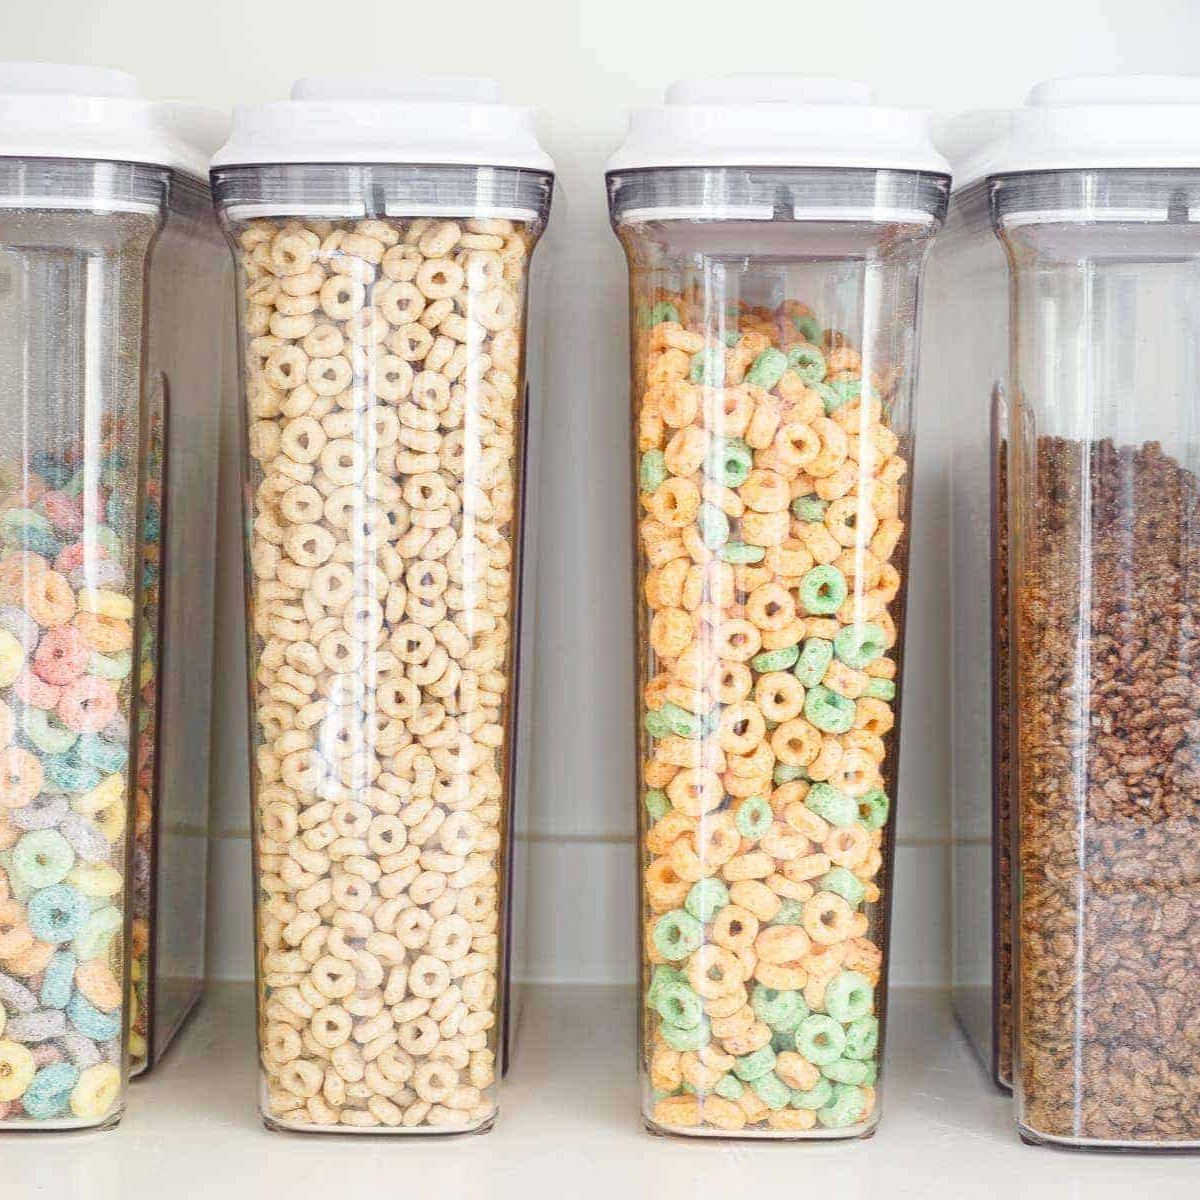
Not only do the containers help keep the pantry cleaner but they look super sharp and allow you to see exactly what you have, no surprises! Not to mention, they are airtight and protect your food against yucky bugs! It also makes your pantry look more organized and uniform when you don’t have all sorts of different sizes, shapes, and colors of boxes and packages.
Tape Cooking Instructions to Storage Containers
If you need the cooking instructions for an item that will be stored in a container, just tape the instructions to the container.

After removing the item from its original packaging, make sure to cut out the instructions. You can then use clear tape to attach them to the back of the container.
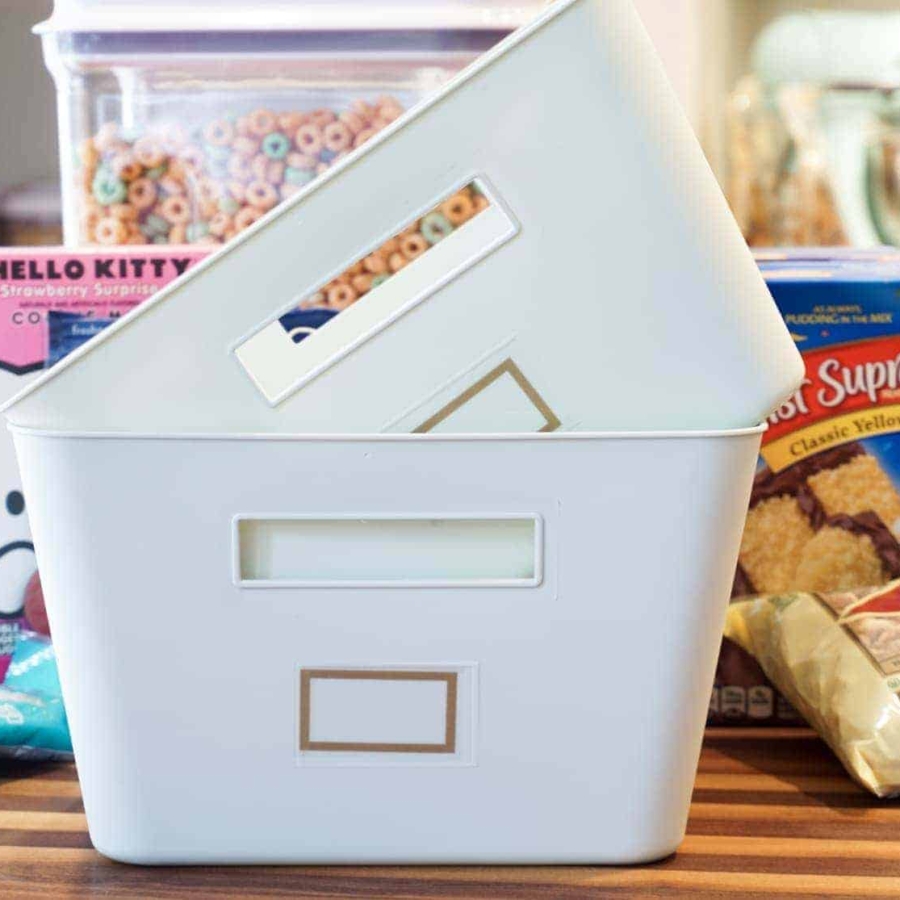
Step 6: Label All Storage Containers
When taking things out of their original packaging and using containers and baskets instead, it’s important to label everything! There are so many choices for labels.

I love these chalkboard labels, which allow me to erase and re-write on them as many times as needed. For the storage containers, these labels work perfectly.

I’ve had my little burlap chalkboard labels for a while. They look so cute tied to the baskets! I was unable to find these exact labels online but did find similar burlap labels. These chalkboard labels are also a good alternative.

Mix & Match Labels
As you can see, I’m using 3 different types of labels and they all work well together. I always like to mix things up 🙂 Don’t be afraid to experiment with different sizes, shapes, and styles of labels.
Step 7: Test Different Layouts When Placing Everything Back Into Your Pantry
Finally, it’s time to fill your pantry back up. Some people find it helpful to plan out the layout on a piece of paper. For me, I like to play around with the layout right there in the pantry. I’ll start by placing the containers and organizers. I then feel it out to see what works best.

Think outside the box and try different ways of setting things up until you find what works best for you and your family.
I have a really deep pantry so I wanted to find a way to make better use of the space. Before, I used to have everything against the back wall and a few things sitting in the front. It just felt like there was a lot of space being wasted. So I played around with it and decided to place things in a U shape.

I also placed some things in the middle of the shelves but always allowing everything on each shelf to be visible.

You’ll want to place your most used items where you can easily reach them. In my case, I needed the breakfast items and snacks to be easily accessible to my kids. I also wanted my big and bulky containers of pasta, sugar, beans, and grains to be in a spot that was convenient. So I placed all those things on my lower shelf.
The second shelf has all our cans and jars that I use for cooking.
The next shelf up is where I placed my baskets. I don’t need to see what’s in them, I just needed them labeled so I can pull them out when needed.

Baskets On Higher Shelves Should Be Kept Light
Don’t pack baskets that you plan to keep on higher shelves with large, bulky or heavy items. You’ll want to keep them small and light so they’re easy to handle.
On the very top shelf, where I can’t reach very well because yes, I’m short, I placed the things that my husband uses.
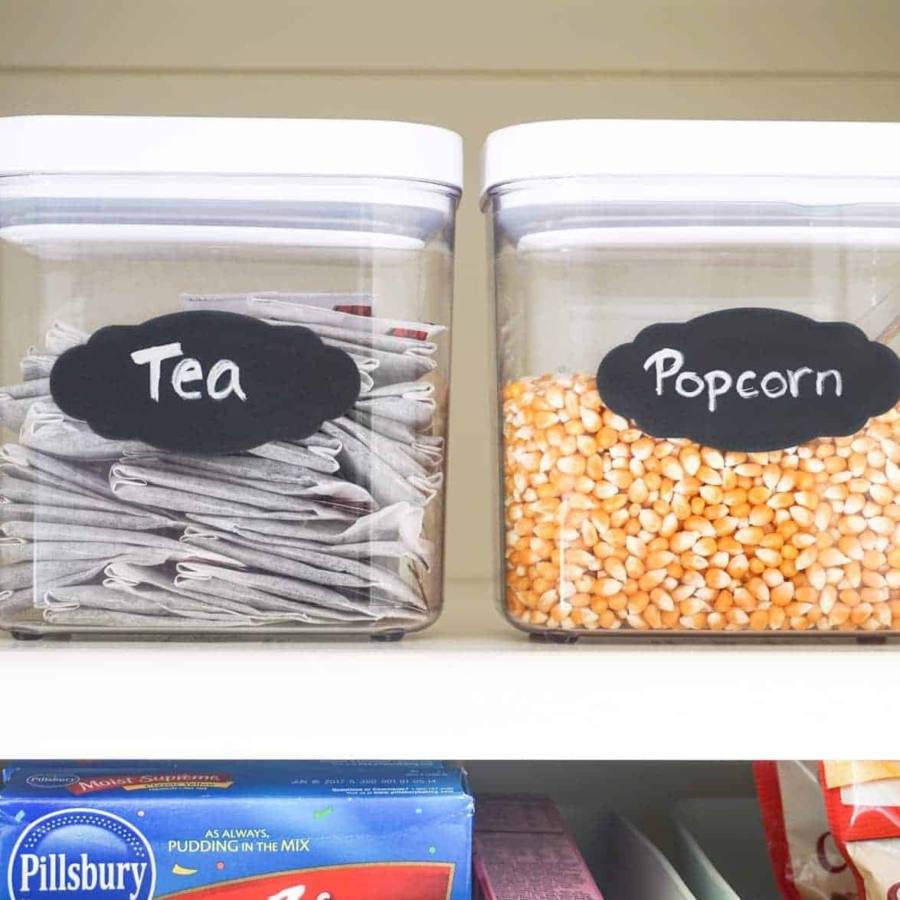
He’s the one that makes iced tea and popcorn, so it was perfect on the top shelf. I also placed the hot chocolate up there since we don’t use it as much.
A Snack Bin for the Kids Will Keep Your Pantry Cleaner
Optionally, you may want to add a snack bin for the little ones. I place mine on the lower shelf, front and center to make it easy for them to grab something quickly without making a mess of the pantry.

That’s it! You now have a pantry that you can be proud of.

BUT, that doesn’t mean you’re done forever. You’ll need to maintain your pantry, just like you do every other area of your home. Every once in a while you’ll need to pull things out and check expiration dates. You’ll need to make sure to place everything where it’s supposed to be.
Trust me though, when you finish all these steps and you have a beautiful, functional pantry, you will WANT to maintain it.
Still not motivated? If you need a little more inspiration to get started, check out these 5 Amazing Pantries That Will Inspire You to Get Yours Organized.
Let me know if you give your pantry a makeover! I’d love to hear all about it!
Remember, a clean and organized pantry is essential in a kitchen. You won’t have to wonder what you have and don’t have and you will definitely save money by not going out and buying multiples of things you already have!